VirtualBox is certainly a great tool to try out different stuffs that you would not normally do on your primary computer such as installing the latest unstable Linux distributions etc. However, with Ubuntu 11.04‘s Unity UI, testing using VirtualBox has been rendered rather ineffective because VirtualBox did not support 3D acceleration that is required for Unity.
With the latest release of VirtualBox, though, that has changed. The latest release, that is VirtualBox 4.0.6, 3D acceleration is supported. In this tutorial, we will show you how you can install Ubuntu 11.04 in VirtualBox with a working Unity 3D.
First of all, download and install the latest VirtualBox from http://www.virtualbox.org/wiki/Downloads. You also need an Ubuntu 11.04 ISO. You can download it from http://cdimage.ubuntu.com/daily-live/current/
After the installation, create a new virtual machine as usual. After creating it, right click on it and go to Settings. Now under Display, check Enable 3D Acceleration.
 - Settings_2011-04-27_02-53-20")
Now, load the Ubuntu 11.04 ISO and install it on the virtual machine. Once the installation is done, remove the ISO and start up the virtual machine. Login to Ubuntu. You will notice that you get the Classic GNOME desktop on login and not Unity. This is expected.
In the virtual machine window, click on Devices > Install Guest Additions. That will start a script in the guest OS (Ubuntu here). The script will ask for your permission to run. Give it the required permission to run.
 (Snapshot 1) [Running] - Oracle VM VirtualBox_2011-04-27_01-59-58")
 (Snapshot 1) [Running] - Oracle VM VirtualBox_2011-04-27_02-09-51")
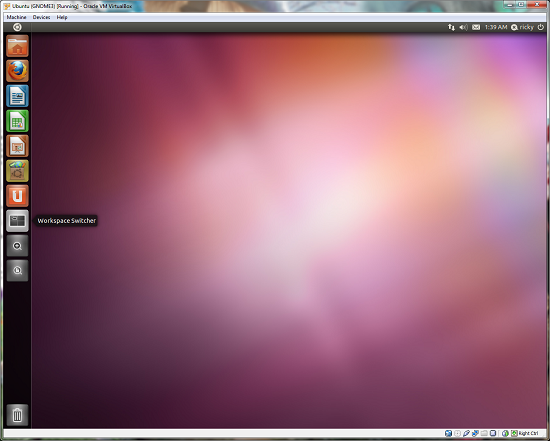
After the script has finished execution, restart your virtual machine. Log in to Ubuntu. Now you should get the Unity interface. Here is a screenshot of Ubuntu 11.04 running with Unity 3D in my VirtualBox.