How To Easily Add a Printer to a Network In Just 3 Steps
There are many different configurations for networked printers, all of which are subtly different and have their own particular strengths and shortcomings. But because it would be impossible to list every possible permutation here, this guide will be limited to giving instructions for setting up what is widely considered to be the most efficient and reliable system. Those installing a printer on a large computer network, such as an office using a single wireless network, will find this method particularly useful.

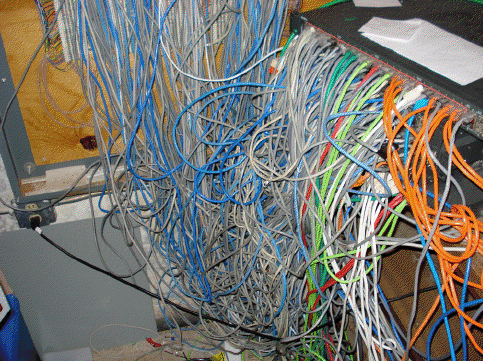
Network Printer Cable Mess
First, there are a number of different kinds of printer that can be purchased. If you are intending to use a printer for a large and fluid network of computers, and want your printer to be accessible for easy installation on laptops and tablets, it is highly recommended you purchase a network printer. These have become quite inexpensive in recent years and are easy to find in any electronic or computer store.
Step 1: Connect Printer to Router
Simply connect the printer to the router using the CAT 5 cable that came with the printer. Then turn on the printer and let it warm up.
Step 2: Obtain IP Address
All printers have a “Print Configuration” option. Usually, you can find it by scrolling through the Menu in the digital screen on top of the printer. Print the configuration, and it will provide you with the unit’s IP address.
Step 3: Install Printer
Now go into the control panel on your PC and open “Printers & Faxes.” Use the install wizard to install a LOCAL printer. Uncheck the box for auto- detecting. Next, create a port (Standard TCP/IP Port). Enter a name for the printer and provide the IP address you previously printed out. Then either choose the printer from the drop down list provided or use the CD that came with the printer to install the necessary drivers.
The installation wizard will then ask whether or not you wish to share the printer. Click NO. All other network members can now link to the printer from their own computer by installing it with the same technique. This will avoid everyone needing to link through your computer first, which will slow down the system and make it less accessible.
This is by far the easiest solution for sharing a printer over large networks, and it works equally well on small networks, too. By setting up your home network the same way, you can easily print from laptops, tablets, smartphones, and other devices without hassle or the need to turn on your primary PC.
These days, more and more of our gadgets are being linked through wireless networks, and installing a printer this way lends much more freedom and usability to the network.
This article was contributed by PrinterInks. Whichever make of printer, you can find a range of ink cartridges from PrinterInks to fit your model.