How To Use Tata Photon Plus In Ubuntu 10.04 Lucid Lynx
 Tata Photon Plus mobile broadband internet connection is becoming very popular in India. The modem that Tata Photon Plus comes with is Huawei E1261 (atleast that is what they gave me). In Windows and Mac, it is detected automatically. You can just plug in the modem and start using it. In Ubuntu, however, the modem is not detected by default. In this how-to we will show you how you can use Tata Photon Plus in Ubuntu 10.04.
So to use Tata Photon Plus in Ubuntu 10.04 here is what you need to do:
- Download and install usb-modswitch. The one in the Ubuntu 10.04 repository is slightly outdated (and I am not sure if it would work). So, I recommend using the one from the testing packages from Debian.
- Go to the download location and install those two debian packages. Or you can open the terminal, navigate to the download location and install with the command:
sudo dpkg -i usb-modeswitch-data_20100418-1_all.deb
sudo dpkg -i usb-modeswitch_1.1.2-3_i386.deb
Note: In case newer versions are available, replace the package name in the above command with the new one.
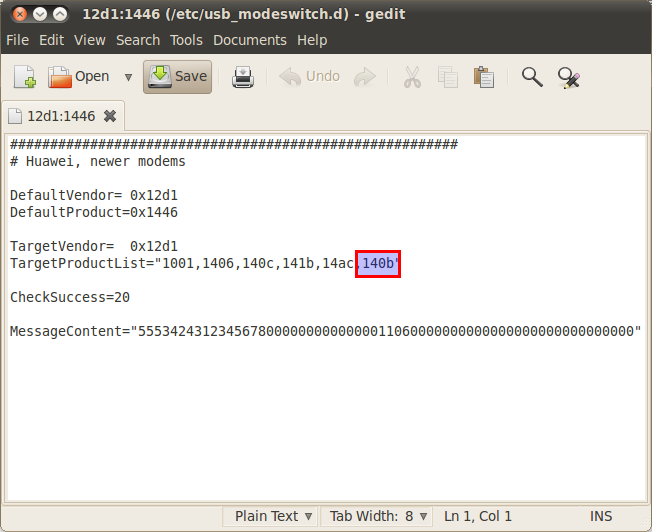
- Open /etc/usb_modeswitch.d/12d1:1446 by executing the command below in the terminal:
sudo gedit /etc/usb_modeswitch.d/12d1:1446
- In the line TargetProductList, add 140b. Save and close.
- Now plug in the usb modem. Right click on the Network Manager applet and click on Edit Connection.
- Go to the tab, Mobile Broadband and click on Add.
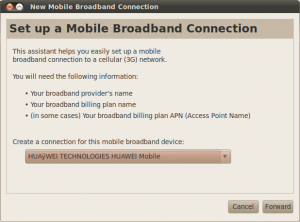
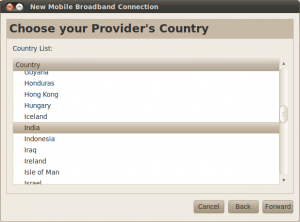
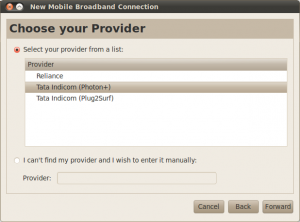
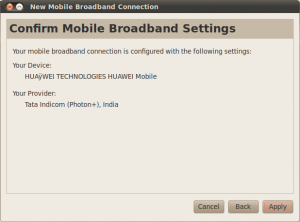
- Now your device should be detected automatically. Click Forward, pick the country and select Tata Indicom (Photon+). Make sure that you have entered everything correctly and then click on forward.
- Now enter your username and password. Your Photon+ number is your usename.
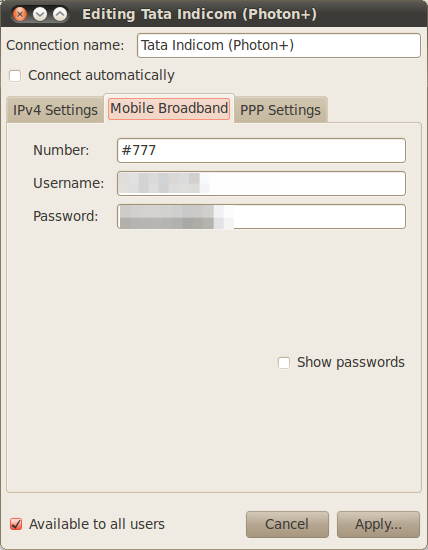
Thats it! You can now connect to the internet using Tata Photon Plus through the Network Manager.
Credit:
For usb-mode switch & usb-modwsitch-data: Novatillasku
Tata Photon+ Modem Image: Travel India Guide
