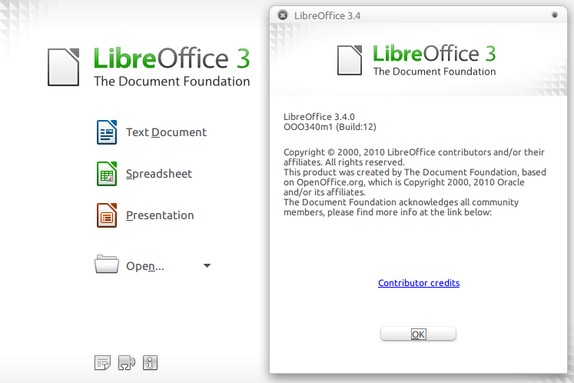
How To Install LibreOffice 3.4 In Ubuntu [11.04 & 10.10]
LibreOffice 3.4 was released a few days back with new features and improvements. It is not yet available in the Ubuntu repository, but if you want to use it right away, you can download and install it manually. In this article, we will tell you how you can install LibreOffice 3.4 in Ubuntu 11.04 and Ubuntu 10.10.

The first thing you have to do is remove LibreOffice 3.2 or OpenOffice - whichever you have installed in your system. To do that, open the terminal and execute the command given below.
For LibreOffice:
sudo apt-get remove libreoffice*.*
For OpenOffice:
sudo apt-get remove openoffice*.*
Now, download LibreOffice 3.4.
For 32-bit:
wget http://download.documentfoundation.org/libreoffice/stable/3.4.0/deb/x86/LibO_3.4.0_Linux_x86_install-deb_en-US.tar.gz
For 64-bit:
wget http://download.documentfoundation.org/libreoffice/stable/3.4.0/deb/x86_64/LibO_3.4.0_Linux_x86-64_install-deb_en-US.tar.gz
(Instead of using wget, you can also use axel. Axel supports multi threaded download and could give you a faster download. Check out this article for details about Axel.)
Using the TerminalExtract the package you have downloaded.
For 32-bit:
tar -zxvf LibO_3.4.0_Linux_x86_install-deb_en-US.tar.gz
For 64-bit:
tar -zxvf LibO_3.4.0_Linux_x86-64_install-deb_en-US.tar.gz
Using the Terminal, navigate into the directory you have extracted and execute the following commands to install LibreOffice 3.4:
sudo dpkg -i DEBS/*.deb
sudo dpkg -i DEBS/desktop-integration/*.deb
That is all, you should have LibreOffice 3.4 installed now.