Suppose you wanted to try out GNOME 3 and installed it in Ubuntu 11.04. The GNOME 3 installation will wipe out Unity. So, what do you do if you installed GNOME 3 (GNOME Shell) only to find out that you do not like it? In this article we will tell you how you can remove GNOME 3 and recover Unity.
[Note: If you want to install GNOME 3 in Ubuntu 11.04 or Ubuntu 10.10, refer to this guide.]
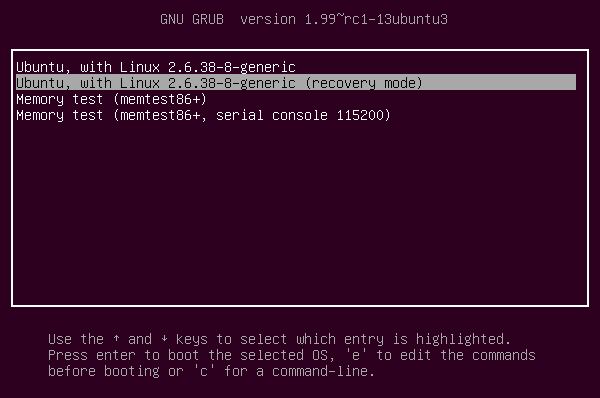
Restart your computer and boot into the recovery mode. If you dual boot, you will probably get the GRUB menu on restarting the system. If your system does not show the GRUB menu and boots into Ubuntu directly, hold down SHIFT key while it is restarting.

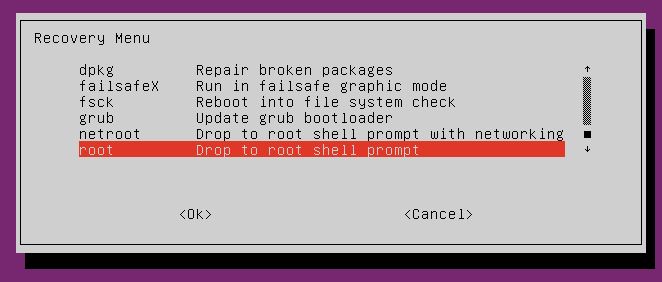
After booting into recovery mode, drop to the root shell prompt. It might not be visible and you might have to use the DOWN key.

Now execute the following commands one after the another:
# apt-get remove gnome-themes-standard libgtk-3-common
# sudo apt-get install ppa-purge
# ppa-purge ppa:gnome3-team/gnome3
# apt-get install gnome-panel
# reboot
Boot into Ubuntu as usual and you will have Unity back.