KDE SC is an awesome desktop envirmonment. In fact I love it way more than GNOME. However, there are some things with KDE SC which I just cannot stand – the network manager being somewhere at the top of that list. Frankly, the KDE network manager (KNEtworkManager) has just too many problems. So, I prefer using the GNOME Network Manager (NetworkManager) even with KDE SC. Here is what you need to do to use the GNOME Network Manager insted of the one that comes with KDE SC.
So, to replace KNetworkManager with NetworkManager (GNOME), here is what you will need to do:
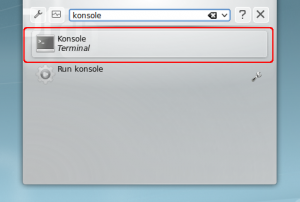
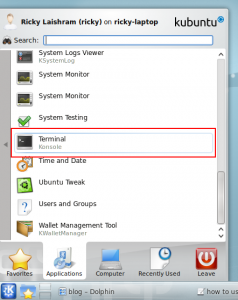
- Start the konsole. Press Alt+F2 and type “konsole” or Kickoff -> Applications -> Systems
- Execute the command givel below:
sudo apt-get install network-manager-gnome
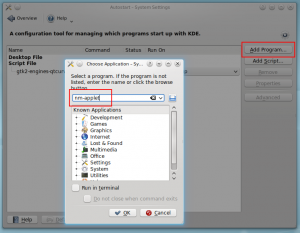
- Go to Autostart under System Settings. Press ALT+F2 and type “autostart” or Kickoff -> Computer -> System Settings -> Advanced Tab -> Autostart.
- Click on Add Program. In the Choose Applications Window, enter “nm-applet” in the text field. Ensure that Run in terminal is not checked. Click on Ok.
- Done. Next time you start KDE SC, you will be asked if you want to keep the nm-applet as default.


