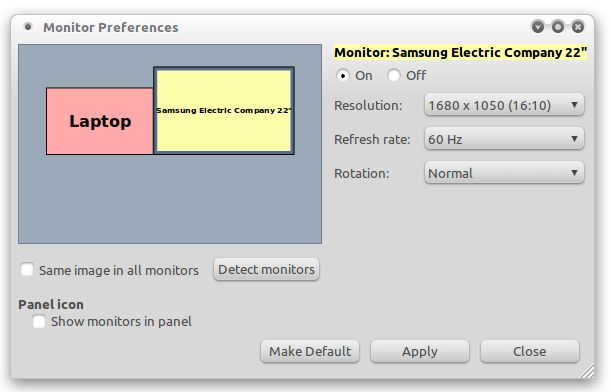
Monitor resolutions and especially extended monitor resolutions can be real pain at times. Although Ubuntu’s monitor resolution detection is really smart but at times it can give you a bad day! Working on extended monitor setup is helpful as it saves you time. Well, in this article we will show you how you can manually set your monitor resolution in Ubuntu or Debian.

Not only this, using the tips provided here you can fix your monitor’s resolution when the external monitor is not getting detected properly. We will be using the xrandr utility to achieve the fixes. xrandr is available in all linux distributions like Ubuntu, Fedora, Red Had, Debian as the xrandr command. So you can access this from the command line.
Now for instance you have a extended monitor or even primary monitor whose best display resolution is 1680 pixels by 1050 pixels and is not being detected. So the first step you need to take is register this screen resolution, using this command:
xrandr –newmode “1680×1050” 146.25 1680 1784 1960 2240 1050 1053 1059 1089 -hsync +vsync
Once this is done, you will now have a 1680 by 1050 pixels screen resolution on your system and you can use your Linux distribution’s monitor adjustment tool to apply this new screen resolution on your system. However at times, this one step is not enough and we need to perform one more step to apply this resolution on your computer.
In your terminal, enter these two commands one by one, in order to apply the new 1680 by 1050 resolution to your extended monitor.
xrandr –addmode VGA1 1680×1050
xrandr –output VGA1 –mode 1680×1050
What these commands will do is, they will apply the aforementioned screen resolution to your extended monitor. Now one thing you have to take care is if you were applying these fixes to your laptop screen, then you need to replace VGA1 with LVDS1. Please let us know if you face any problems.