How To Use Twitter OAuth Authentication In Choqok
 Twitter has started their process of migrating to OAuth authentication a few days back. They are decreasing the number of updates per hours a client can have if they are using the basic authentication. Yesterday it was 75 requests per hour and today it has been reduced to 30 per hour. So, if you are still using the old basic authentication, you may have problems.
In anticipation of this, Choqok 1.0 Beta 2 already supports OAuth. But there seems to be bug which prevents you from using OAuth on an already existing account with the basic authentication. Here is how you can use the OAuth authentication in Choqok:
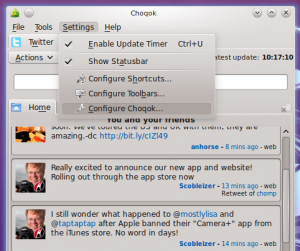
Go to the Configure Choqok option. (Settings -> Configure Choqok)
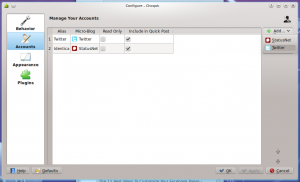
Go to Accounts. If the account you already want is already setup with the basic authentication, remove it. There is a bug which prevents OAuth authentication with existing accounts.
Click on Add and pick Twitter.
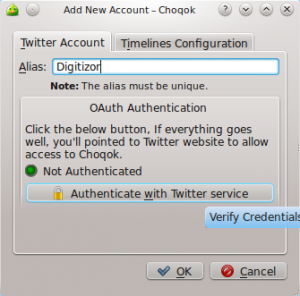
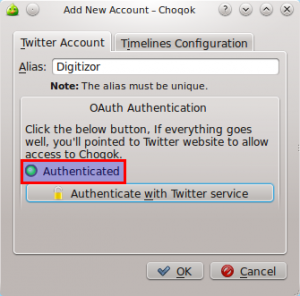
Now enter a alias for the account and click on "Authenticate with Twitter service".
The browser will open and you will get this. If you are not logged in to Twitter with the browser, it will ask you to login first.
Click on Allow.
After clicking on Allow, you will get a PIN. Copy it.
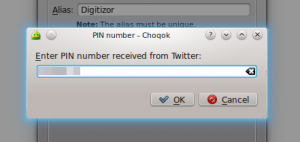
Go back to Choqok. There will be a window asking for you to enter the PIN. Enter it there and click on OK.
Now you will see that your account has been authenticated.
This is all. 🙂
